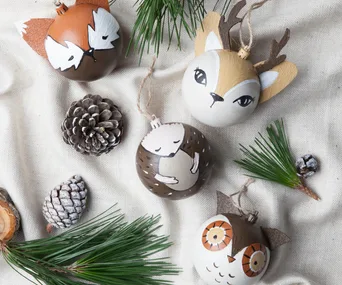
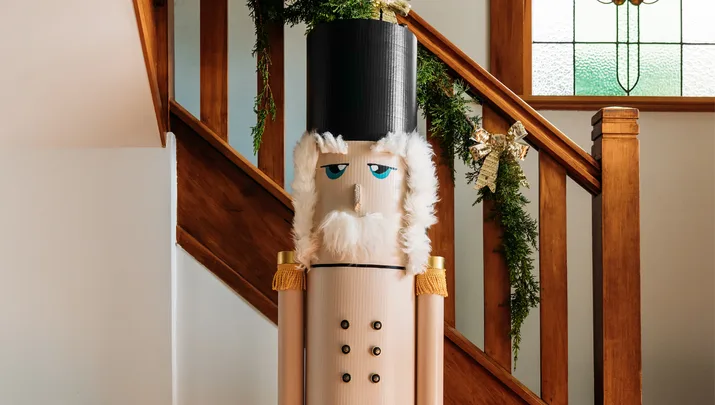
Making a DIY nutcracker is a good excuse to repurpose many of the parts from previous projects and last year’s baubles. You could use an old cardboard box for the body and cover it in leftover fabric.
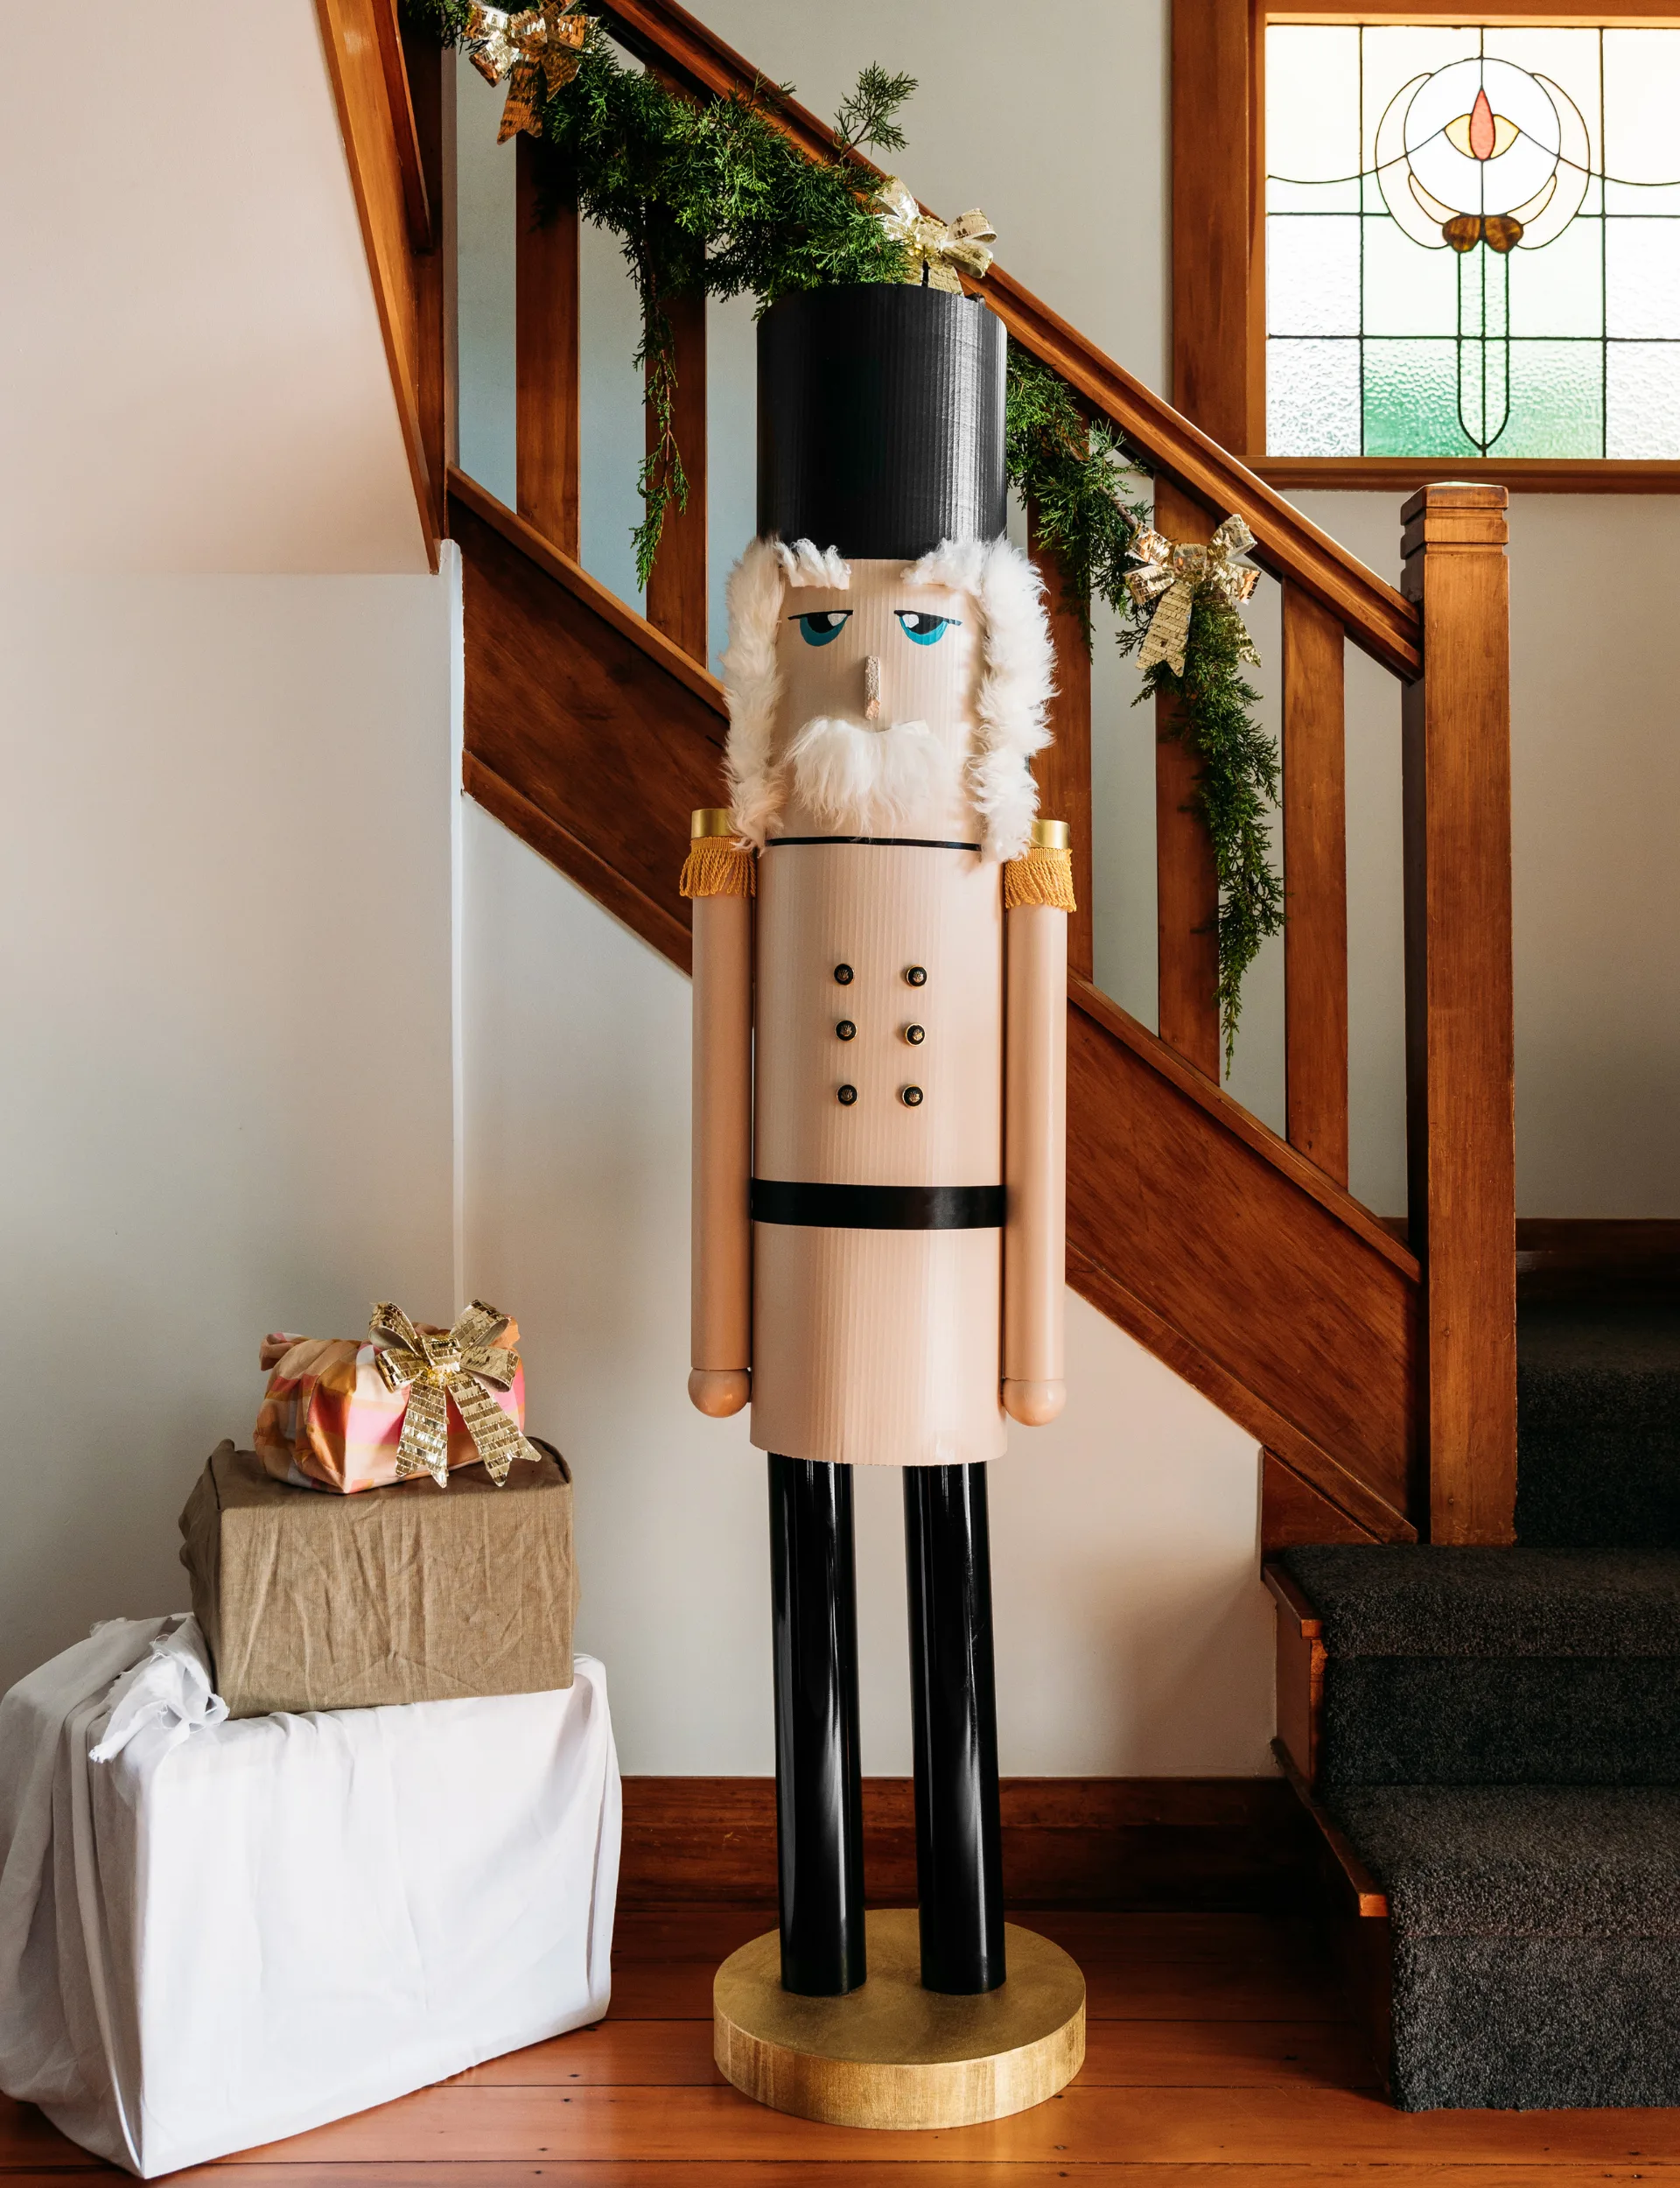
I also used leftover paint test pots. I made two nutcrackers, which have proved such a hit with my children they’re insisting on leaving them up year-round.
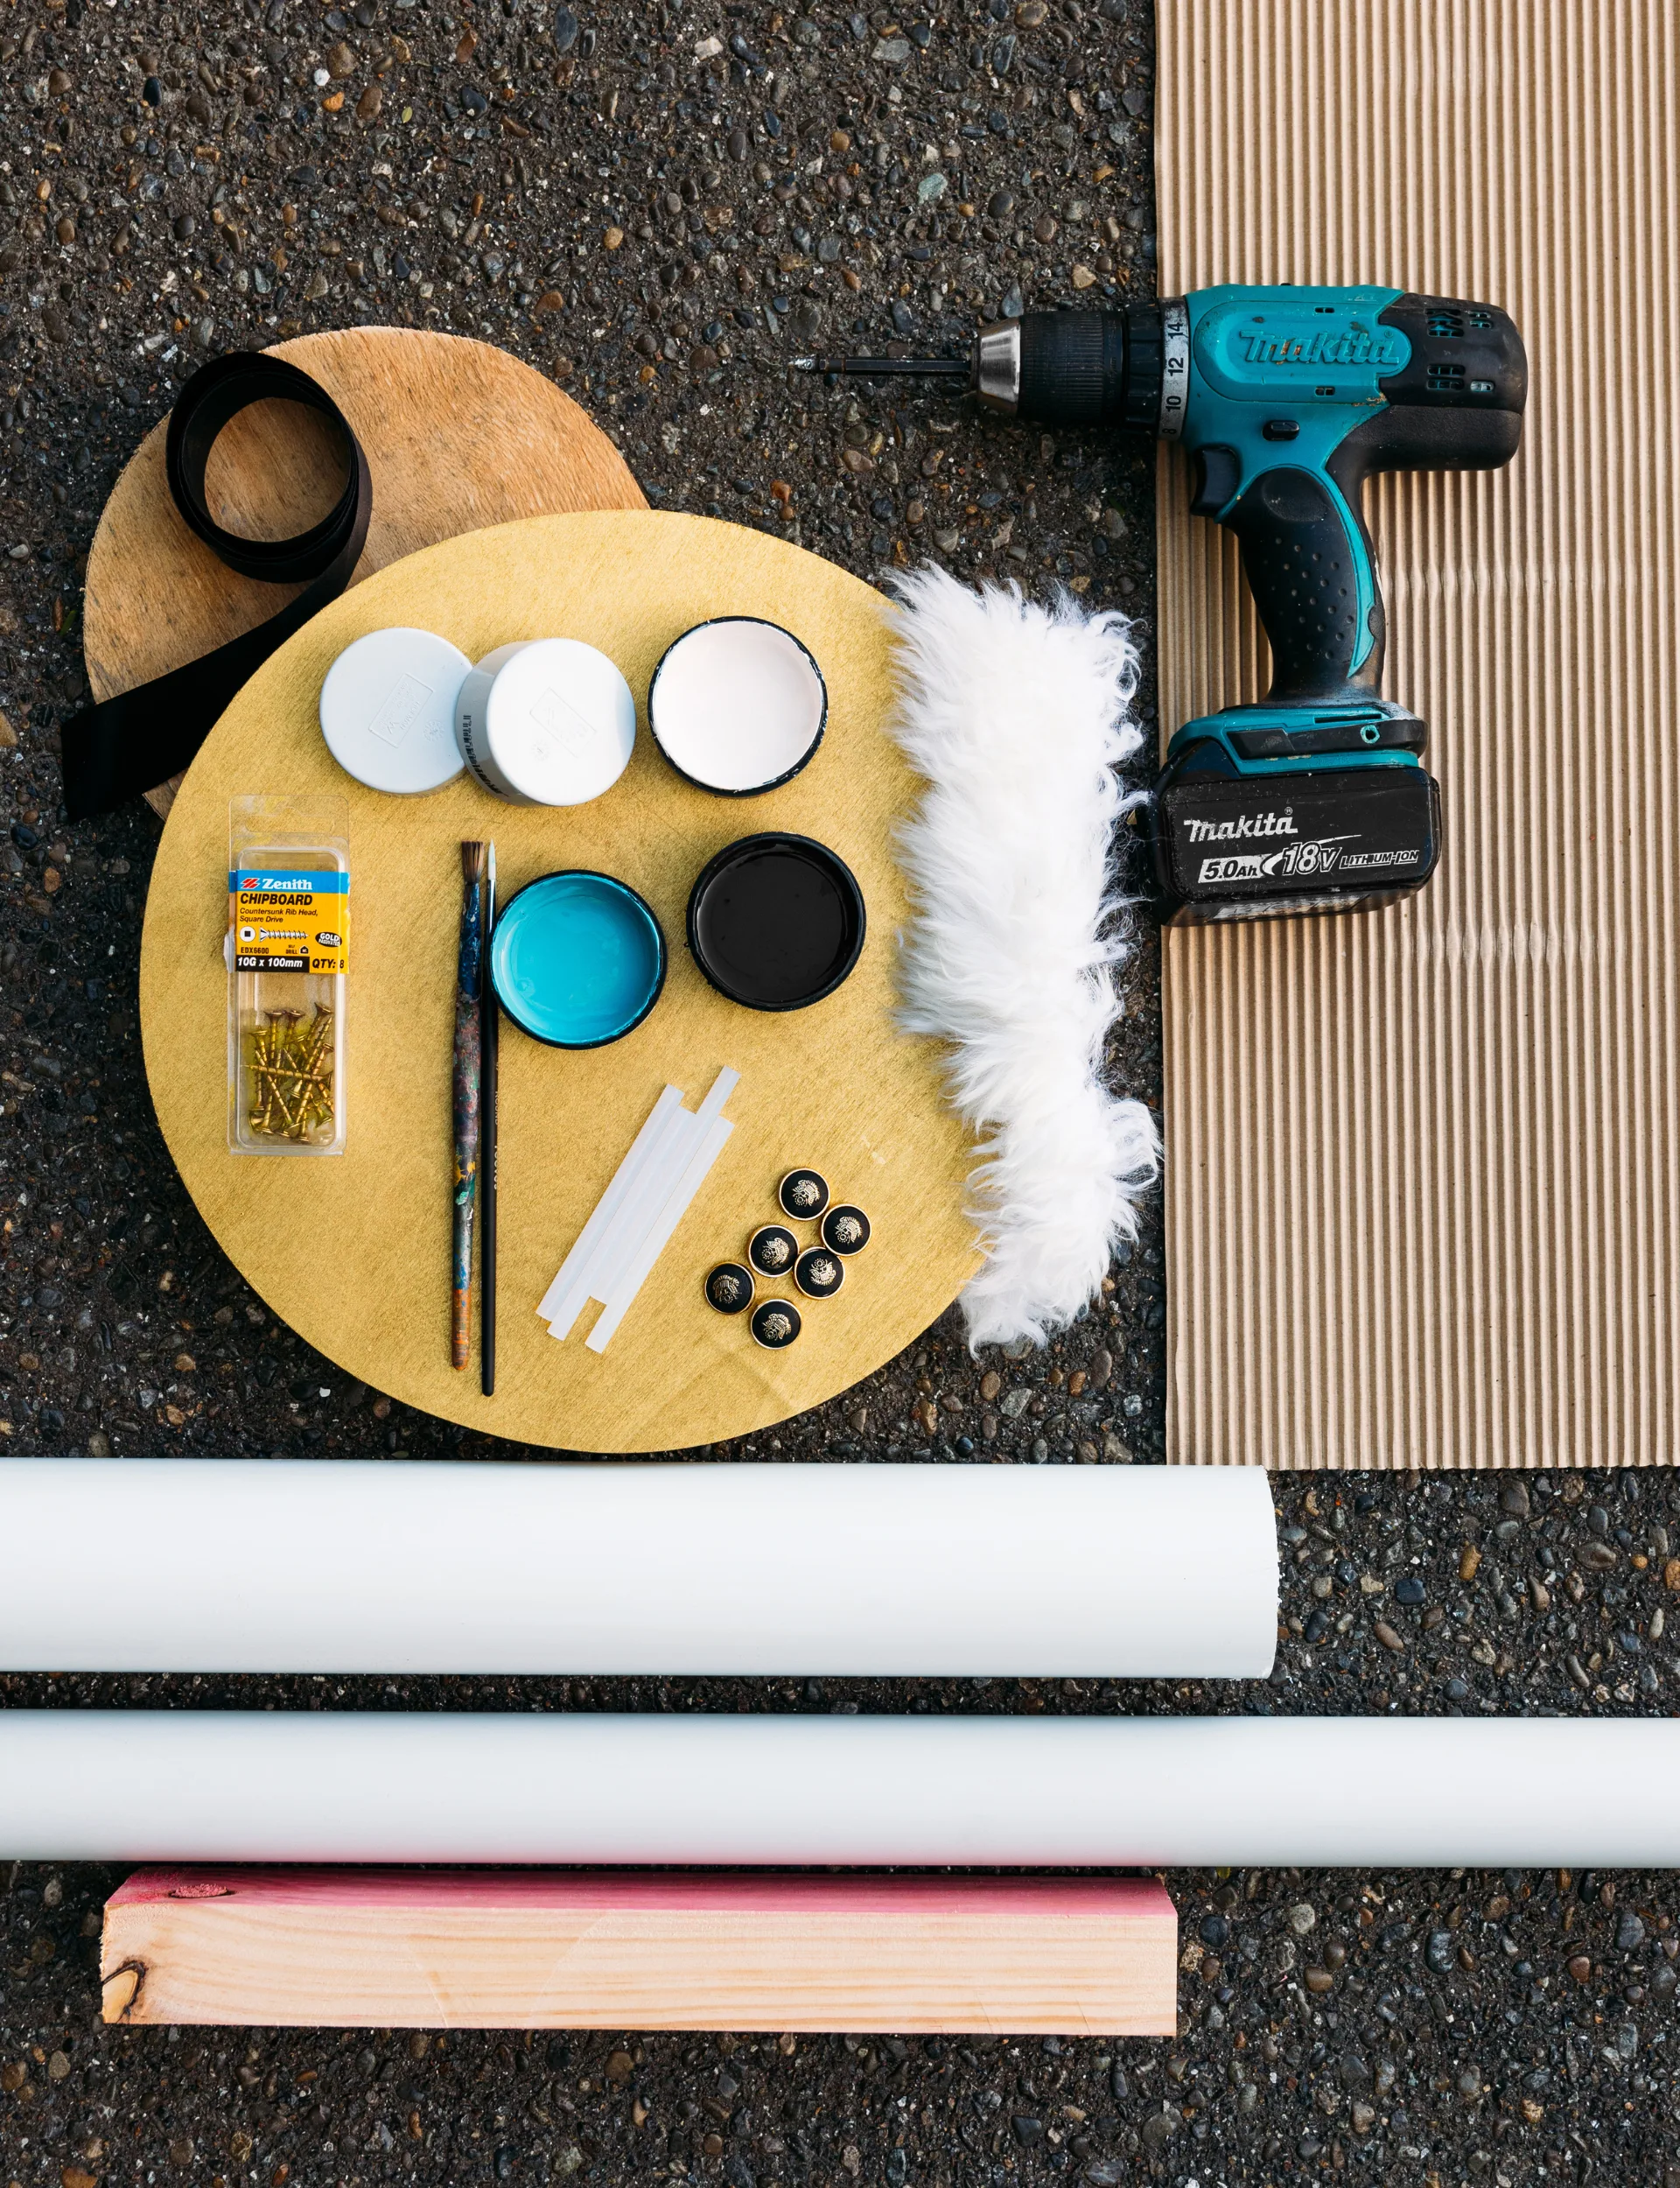
You will need:
- 80mm PVC pipe for legs
- 40mm PVC pipe for arms, keeping the end caps
- Hacksaw
- Skin-toned, blue, white, black and gold paint and a paint brush or roller
- 75mm timber to fit in leg pipe
- Timber screws
- Electric screwdriver, $139, available at Trade Tested
- 1 large timber round for the base
- 2 medium timber rounds to form the body
- Wooden tray or base for nutcracker to stand on (the round wooden tray, $43.00, available from Spotlight, would be suitable)
- Cardboard for the body (I did a double-layer)
- Hot-glue gun, $26.25, available at Spotlight
- Gun stapler, $139.90, available at Trade Tested
- Old baubles for hands
- Detailing like buttons, sheepskin for beard, ribbon and fringing for epaulettes
- A piece of foam for the nose
How to create your DIY nutcracker:
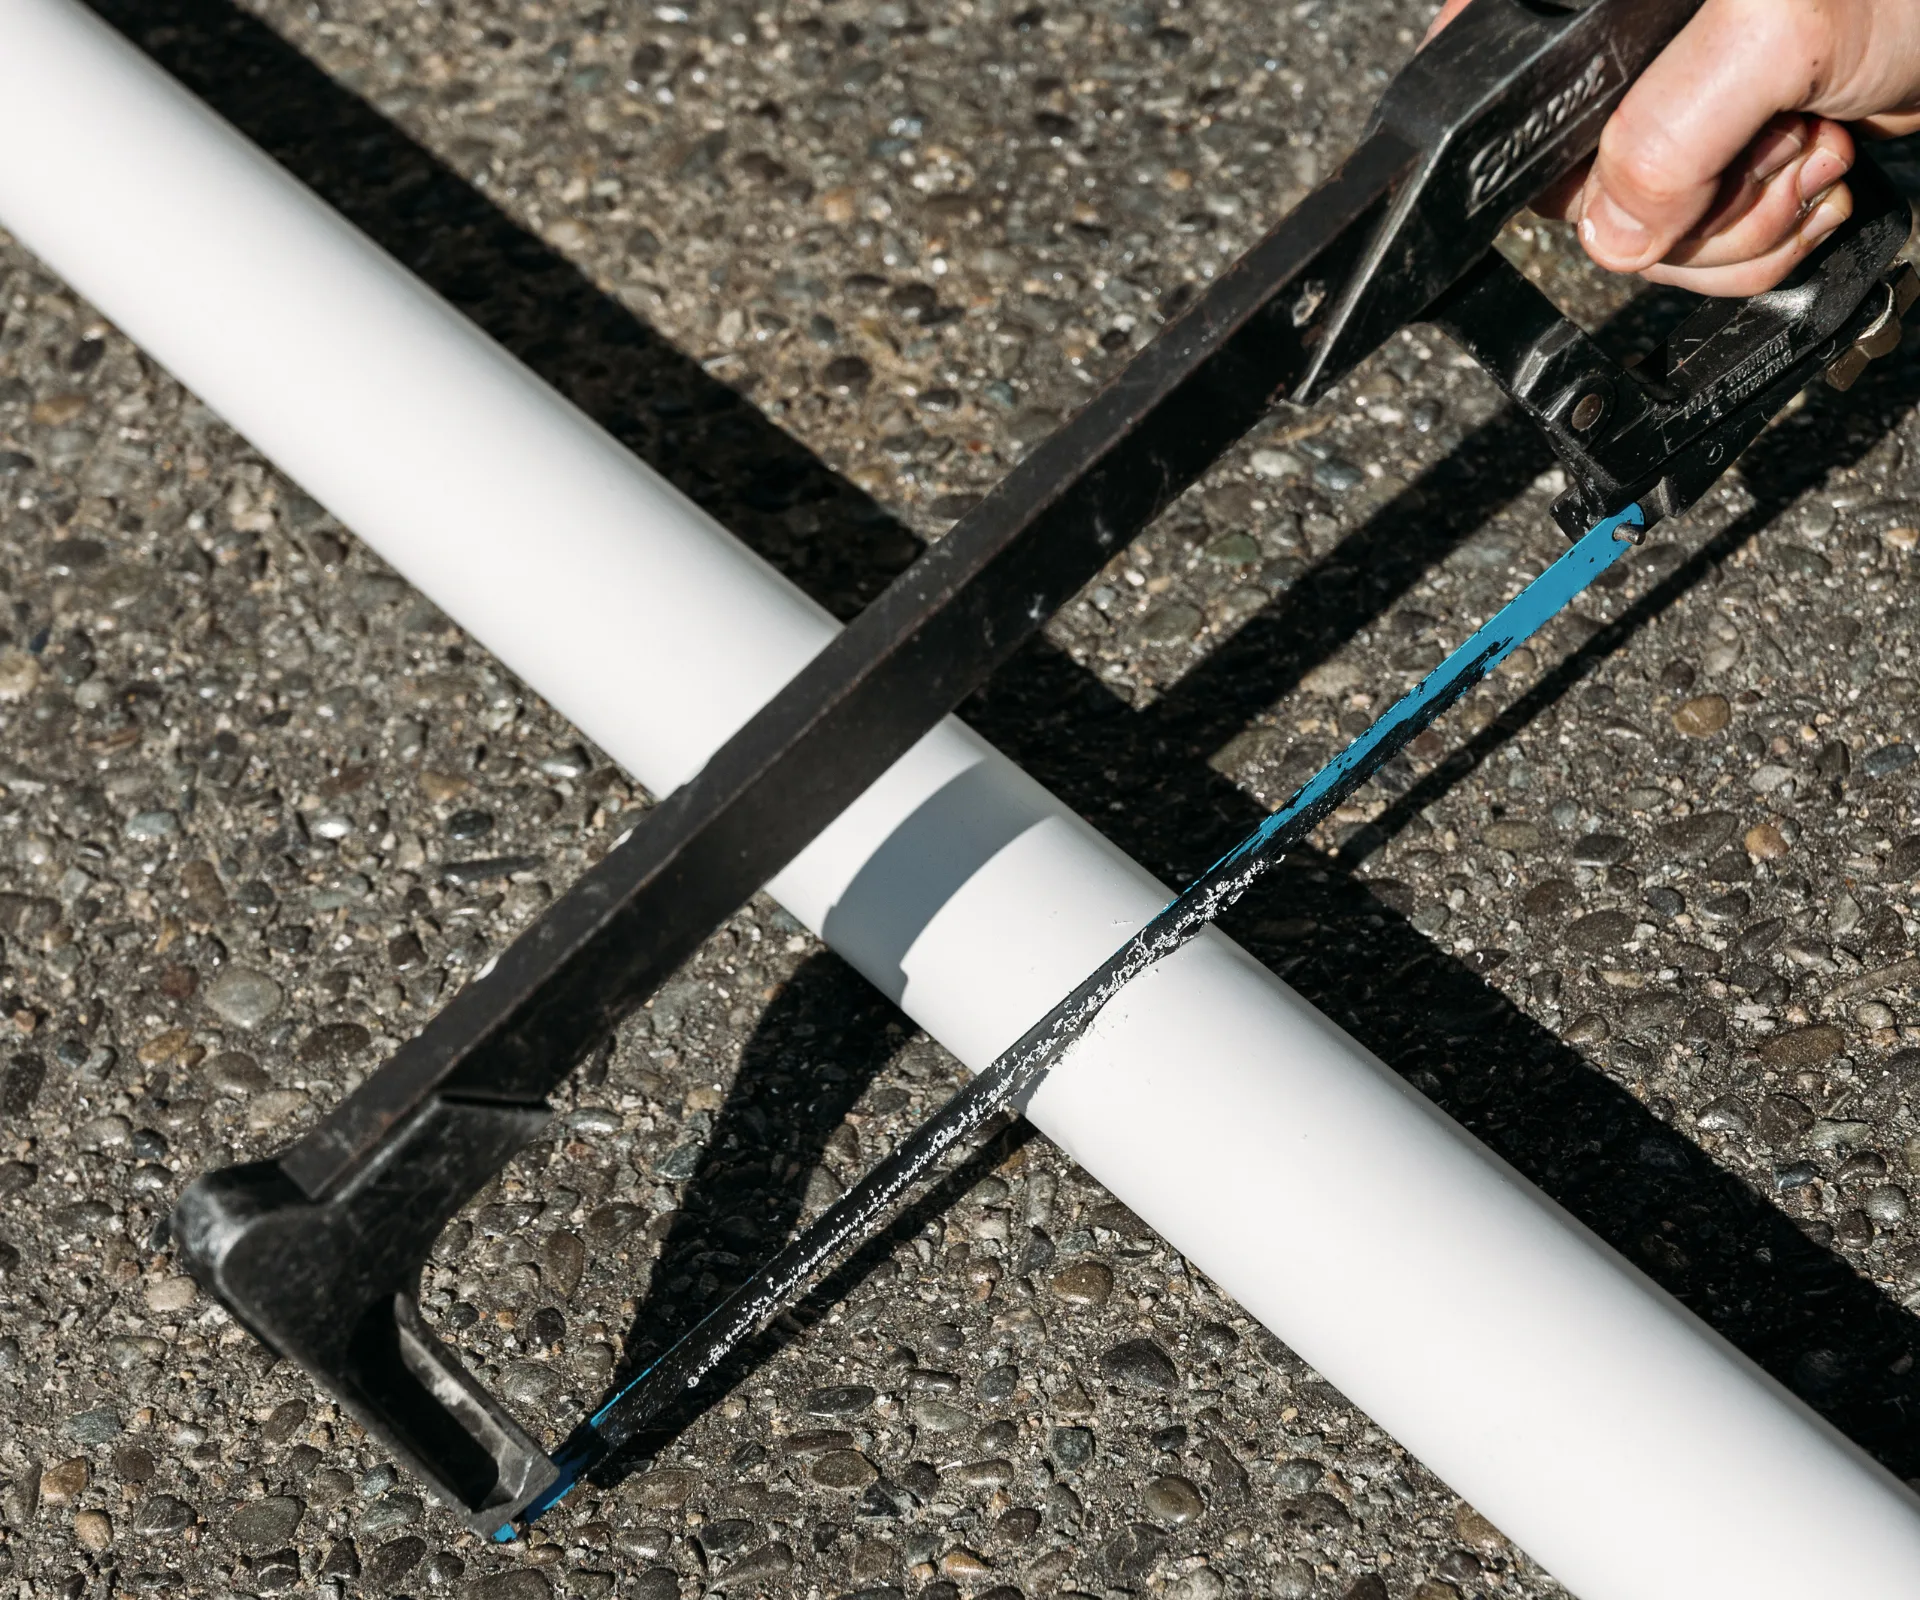
1. Start by cutting the pieces of pipe for the legs and arms. I used a hacksaw to do this and you can make him as big or small as you like.
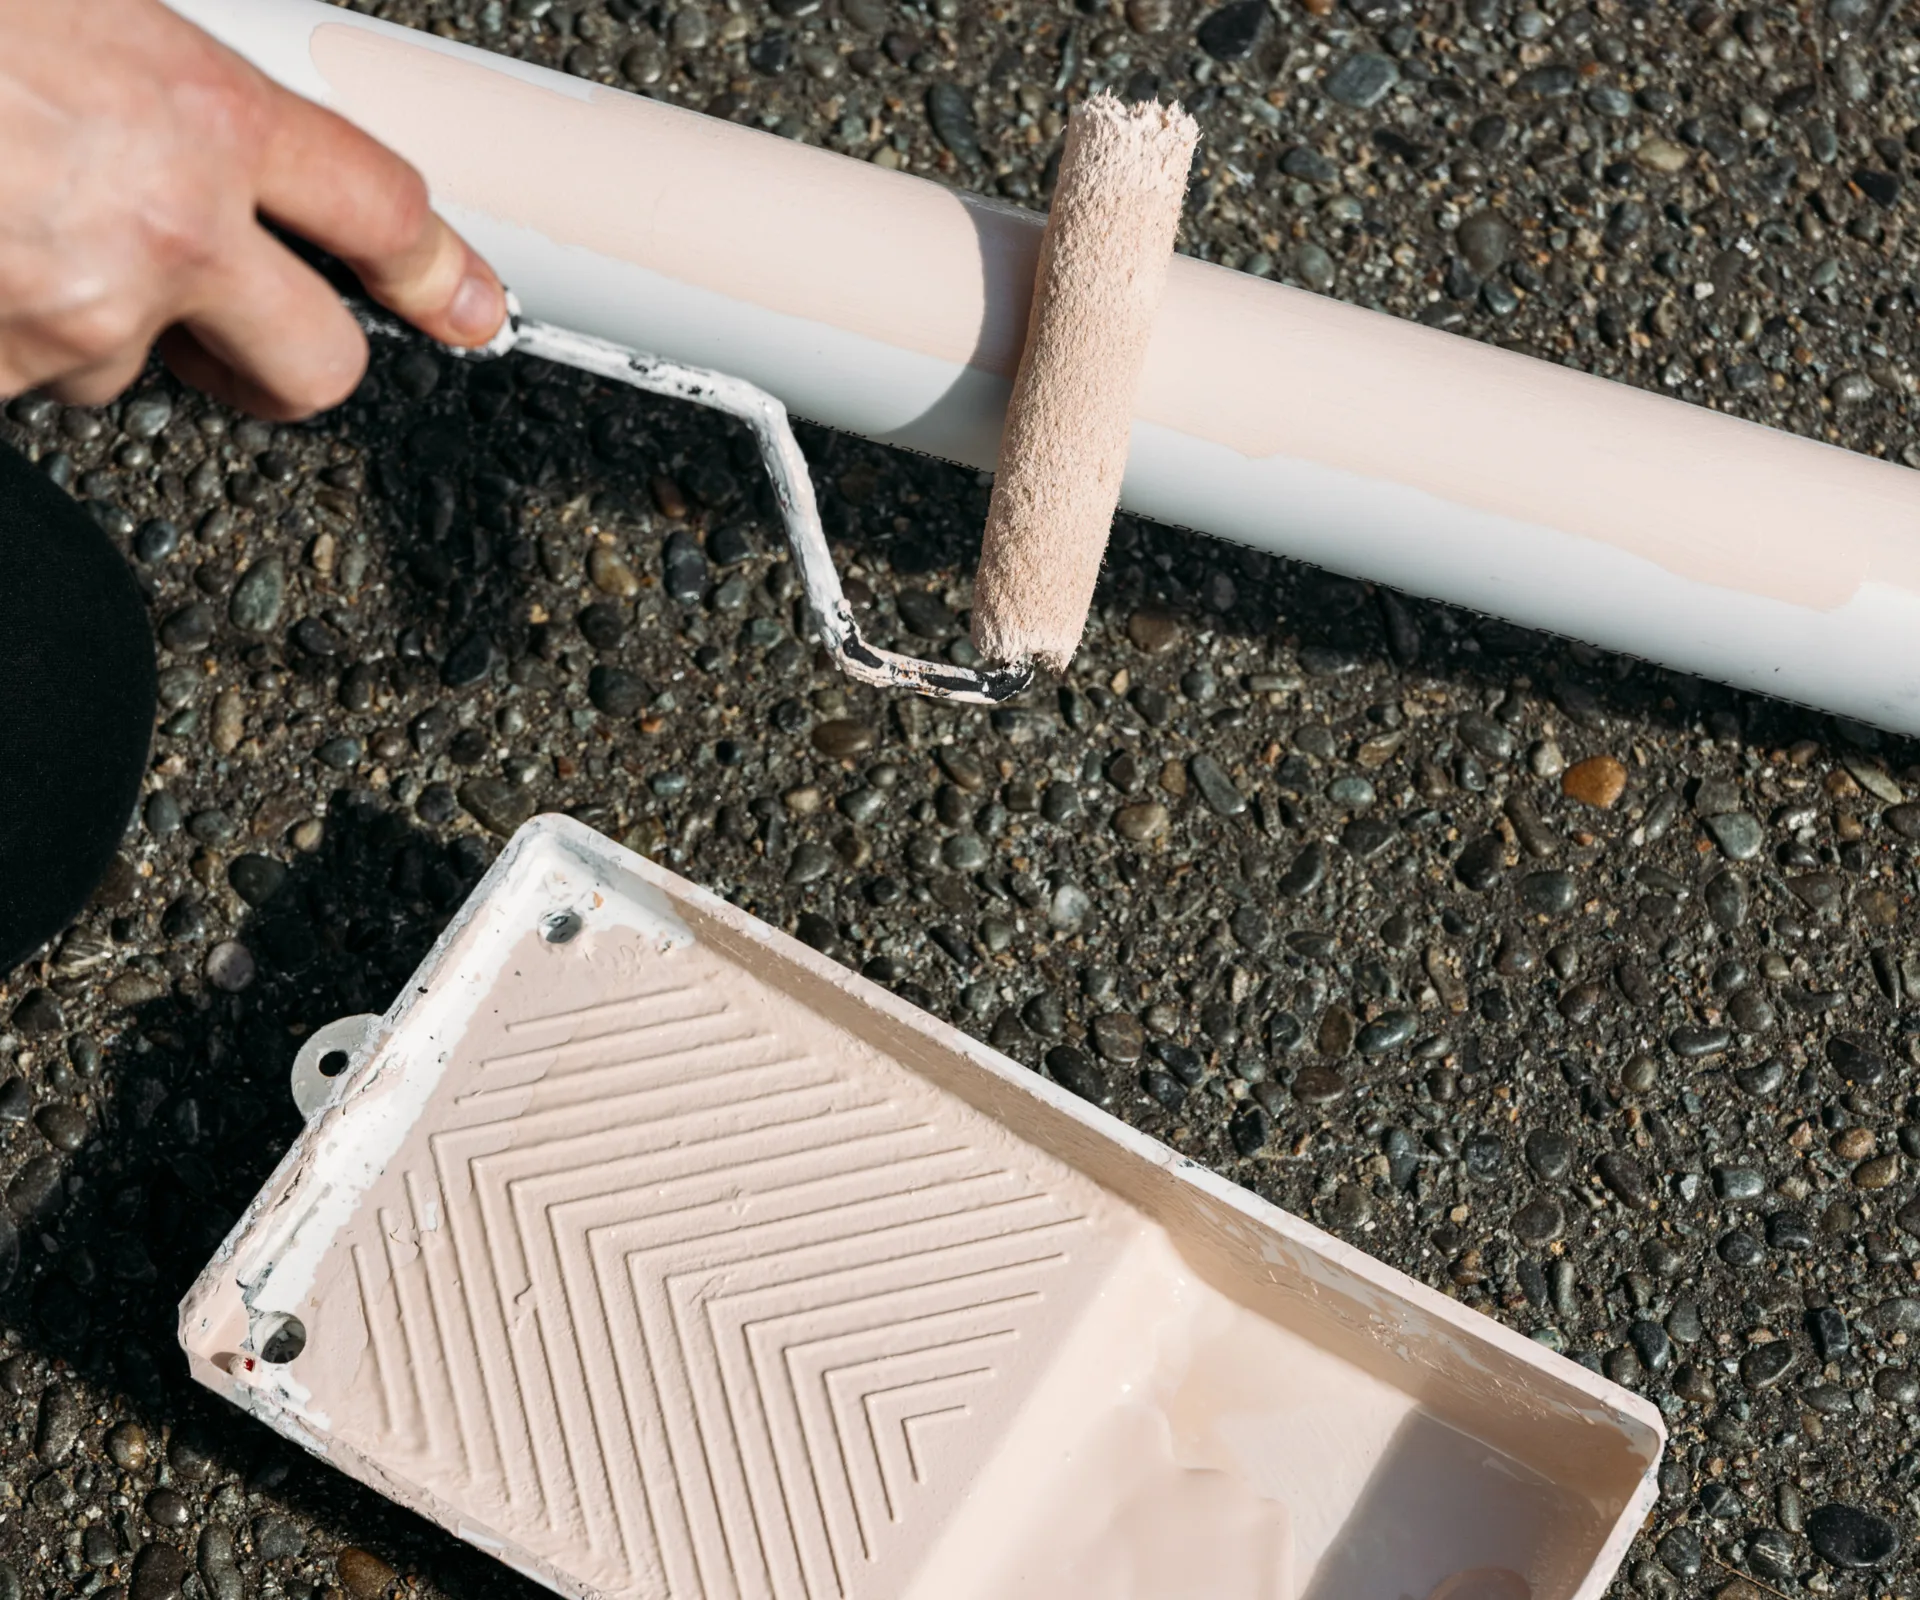
2. Paint all your pieces now before assembling the nutcracker, particularly the outer layer of cardboard because painting this when it is in cylinder form is difficult. Paint the PVC end pipe caps gold. These will be his shoulders.
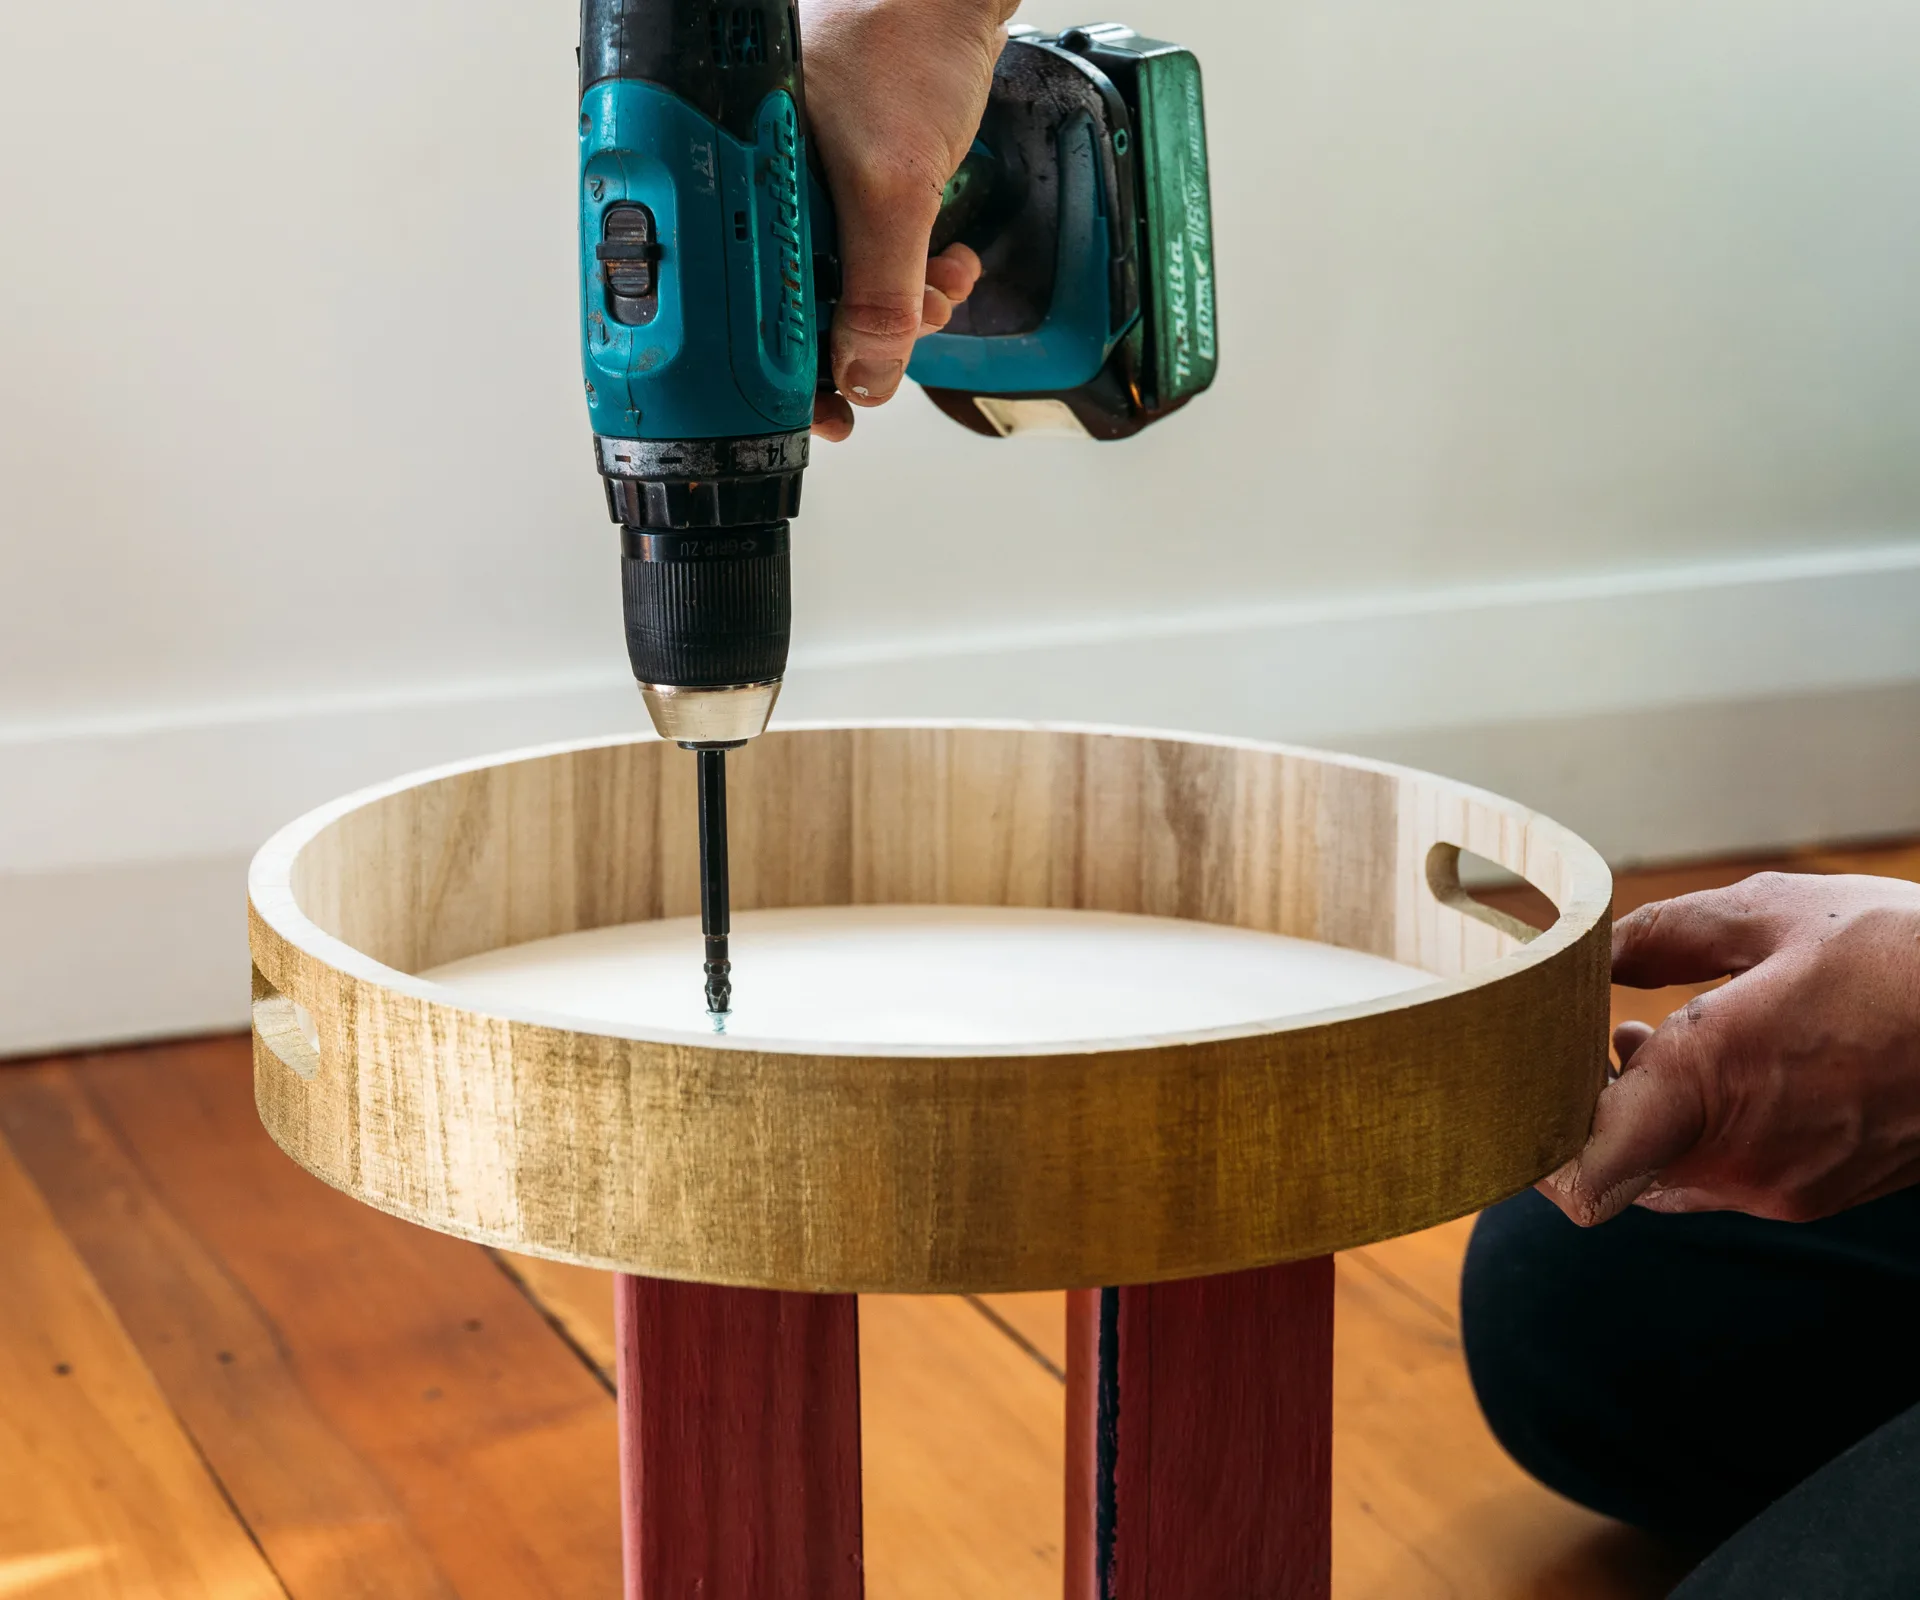
3. Cut 4 x 75mm pieces of timber 200mm long to fit into the bottom and top of the legs. Attach two of these pieces of timber to the larger base plate using long screws.
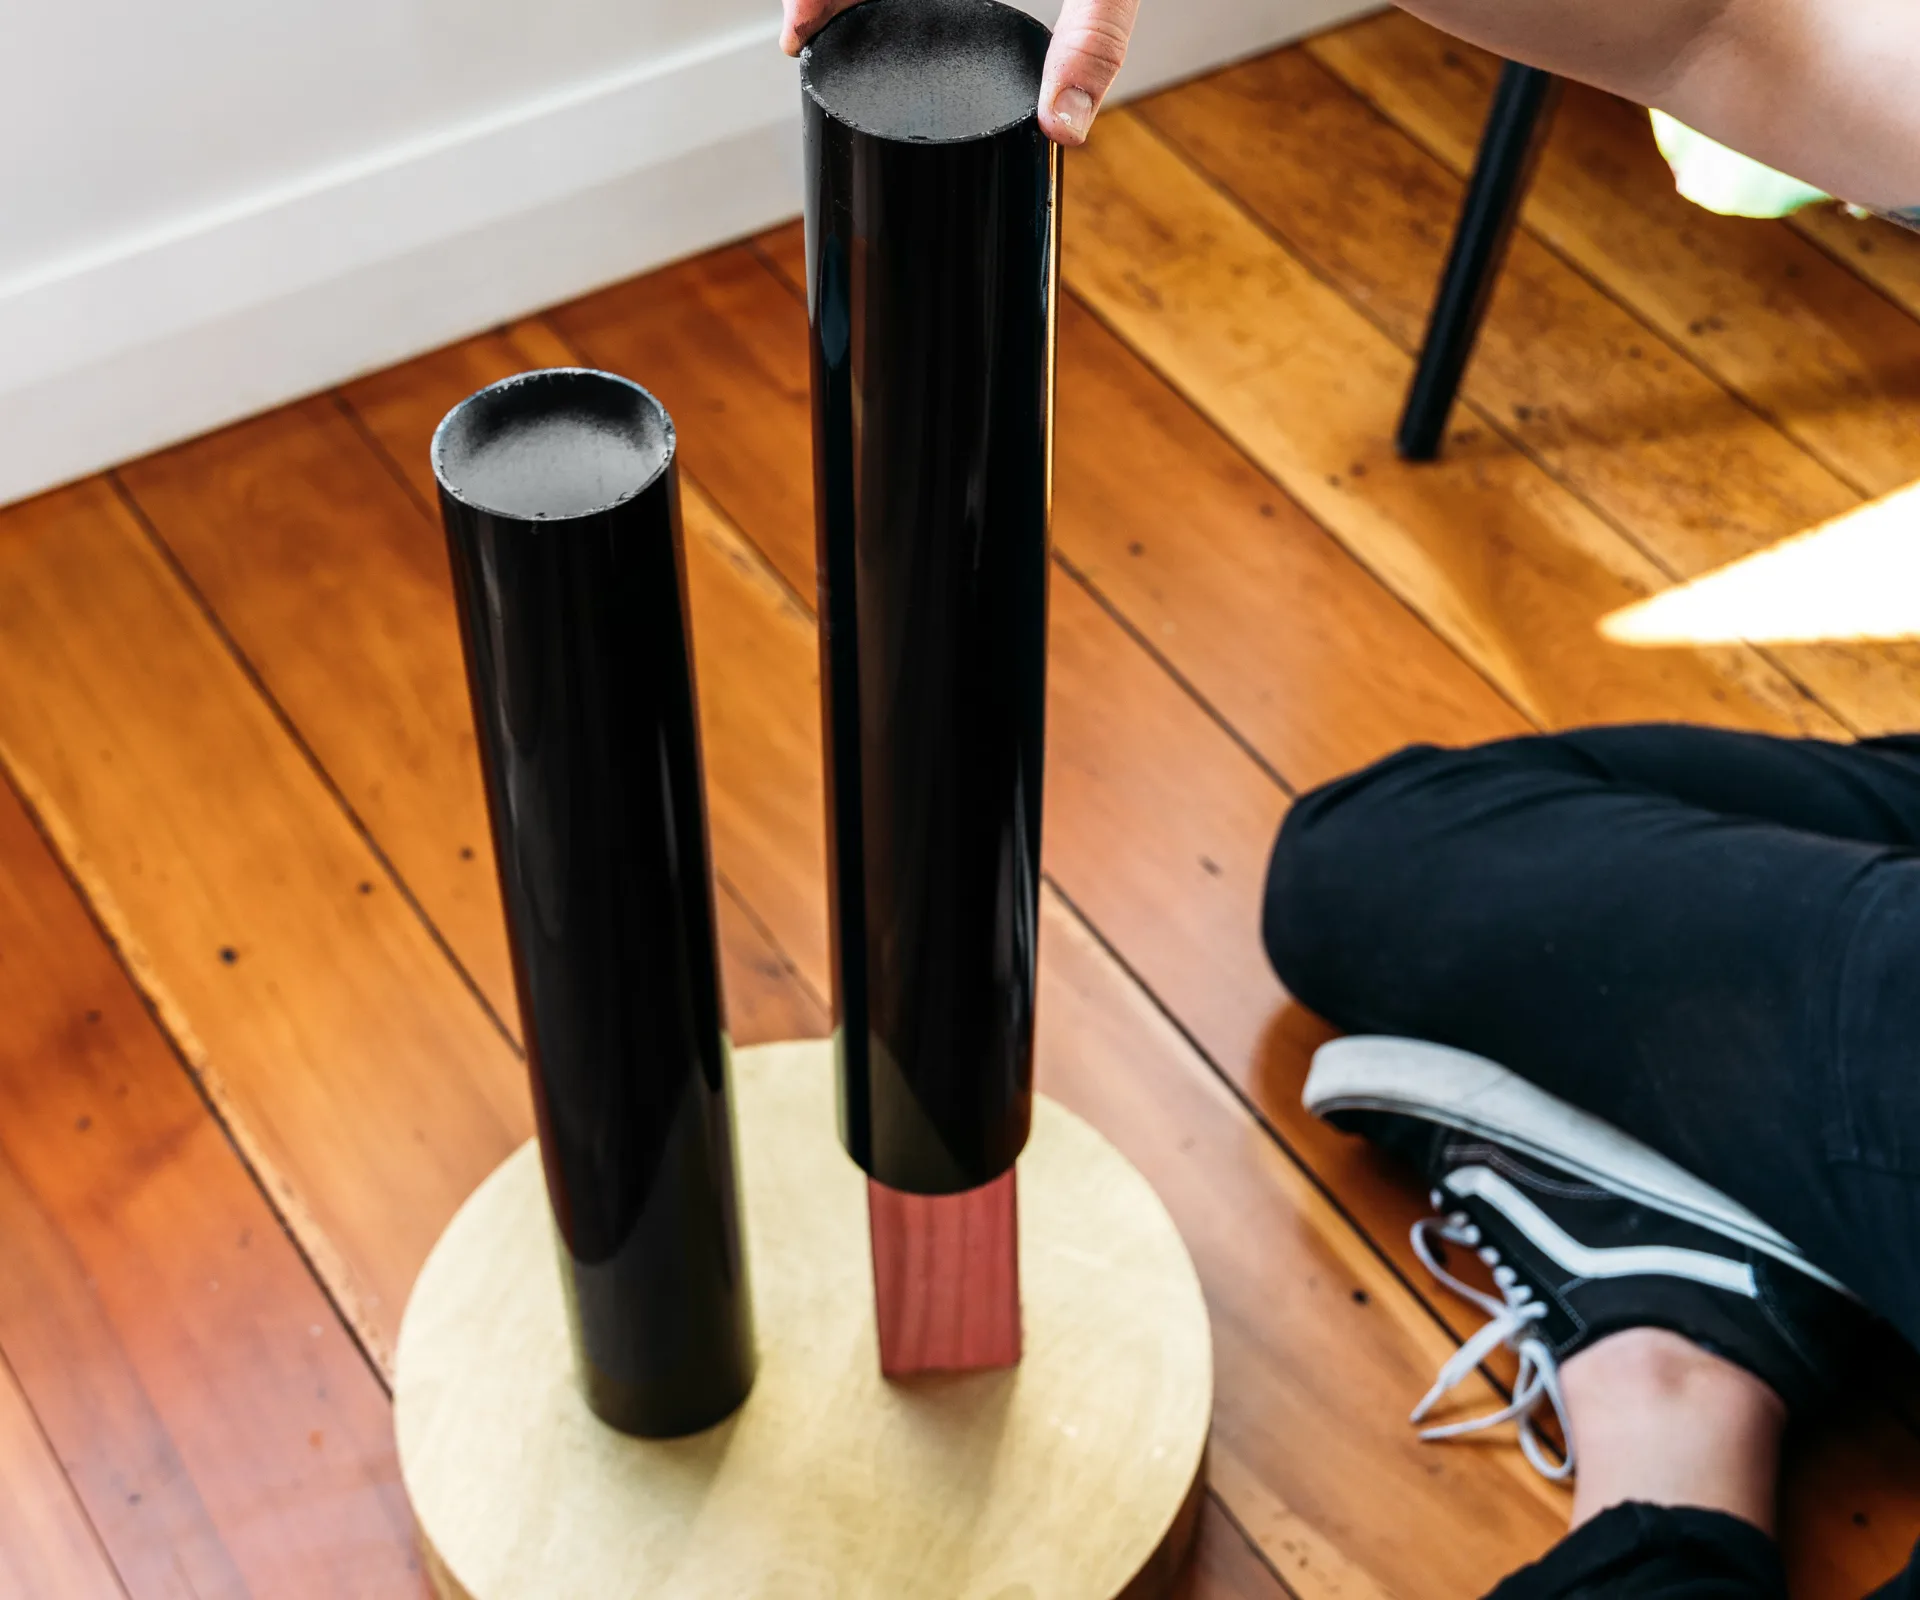
4. Flip this over and slide the 80mm pipe over the top. Repeat this with one of the smaller round plates and two more pieces of timber.
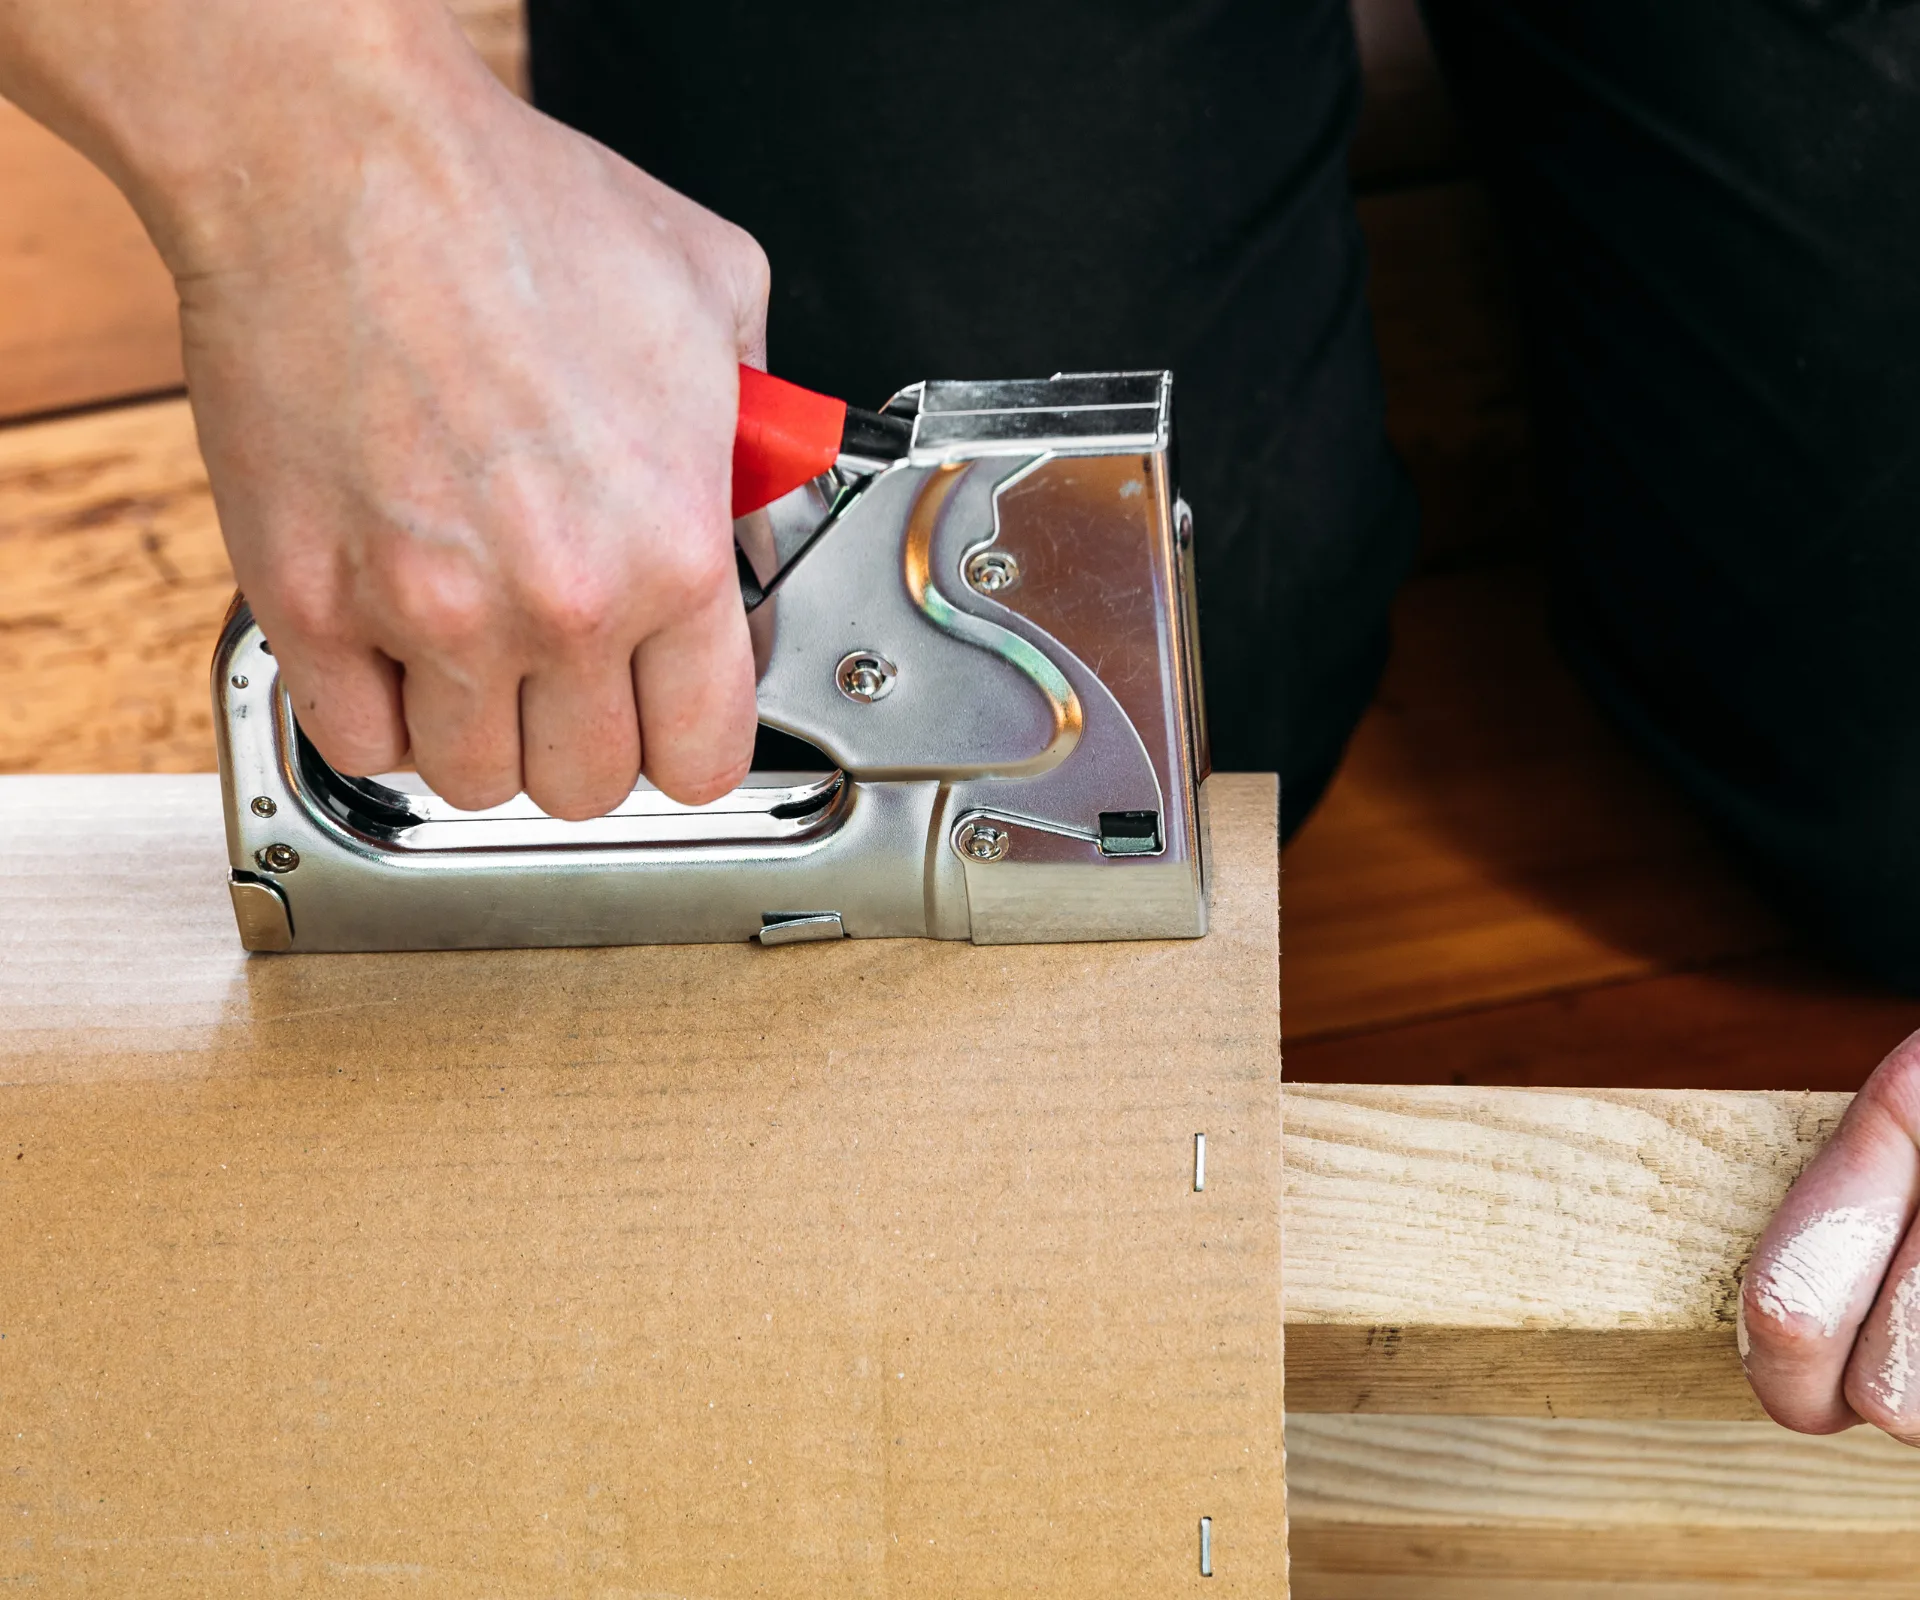
5. Staple or glue the cardboard around this plate. Then staple the last disc to the top of the cardboard to form the body. Slide this whole structure into the base legs.
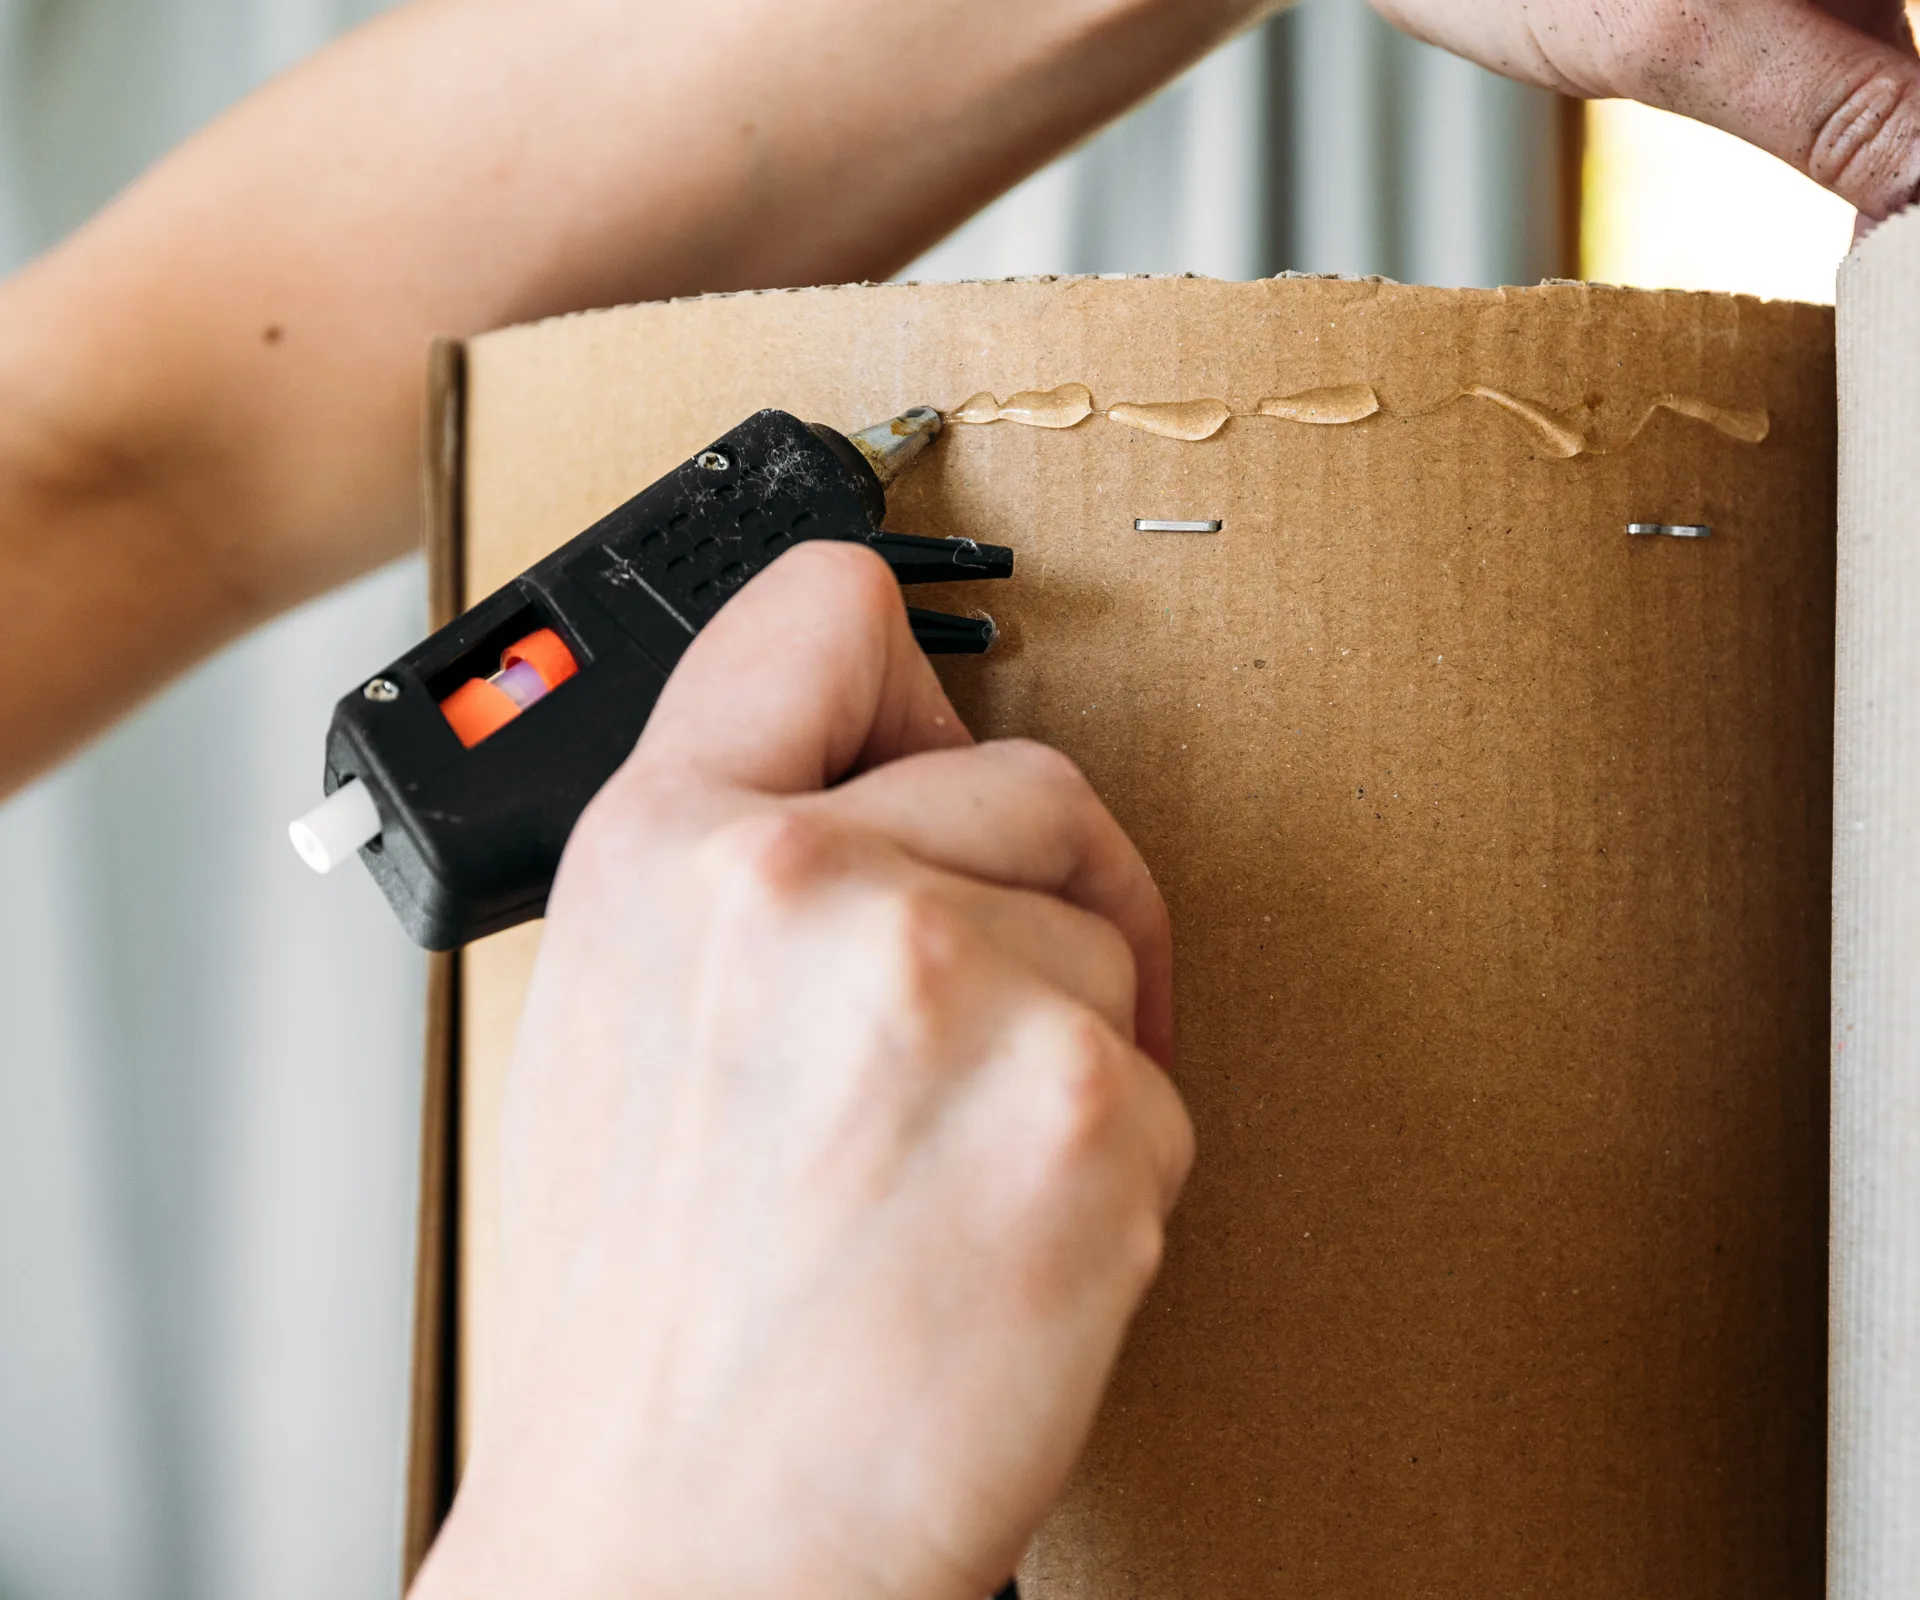
6. Glue a second layer of cardboard around the previously painted body structure.
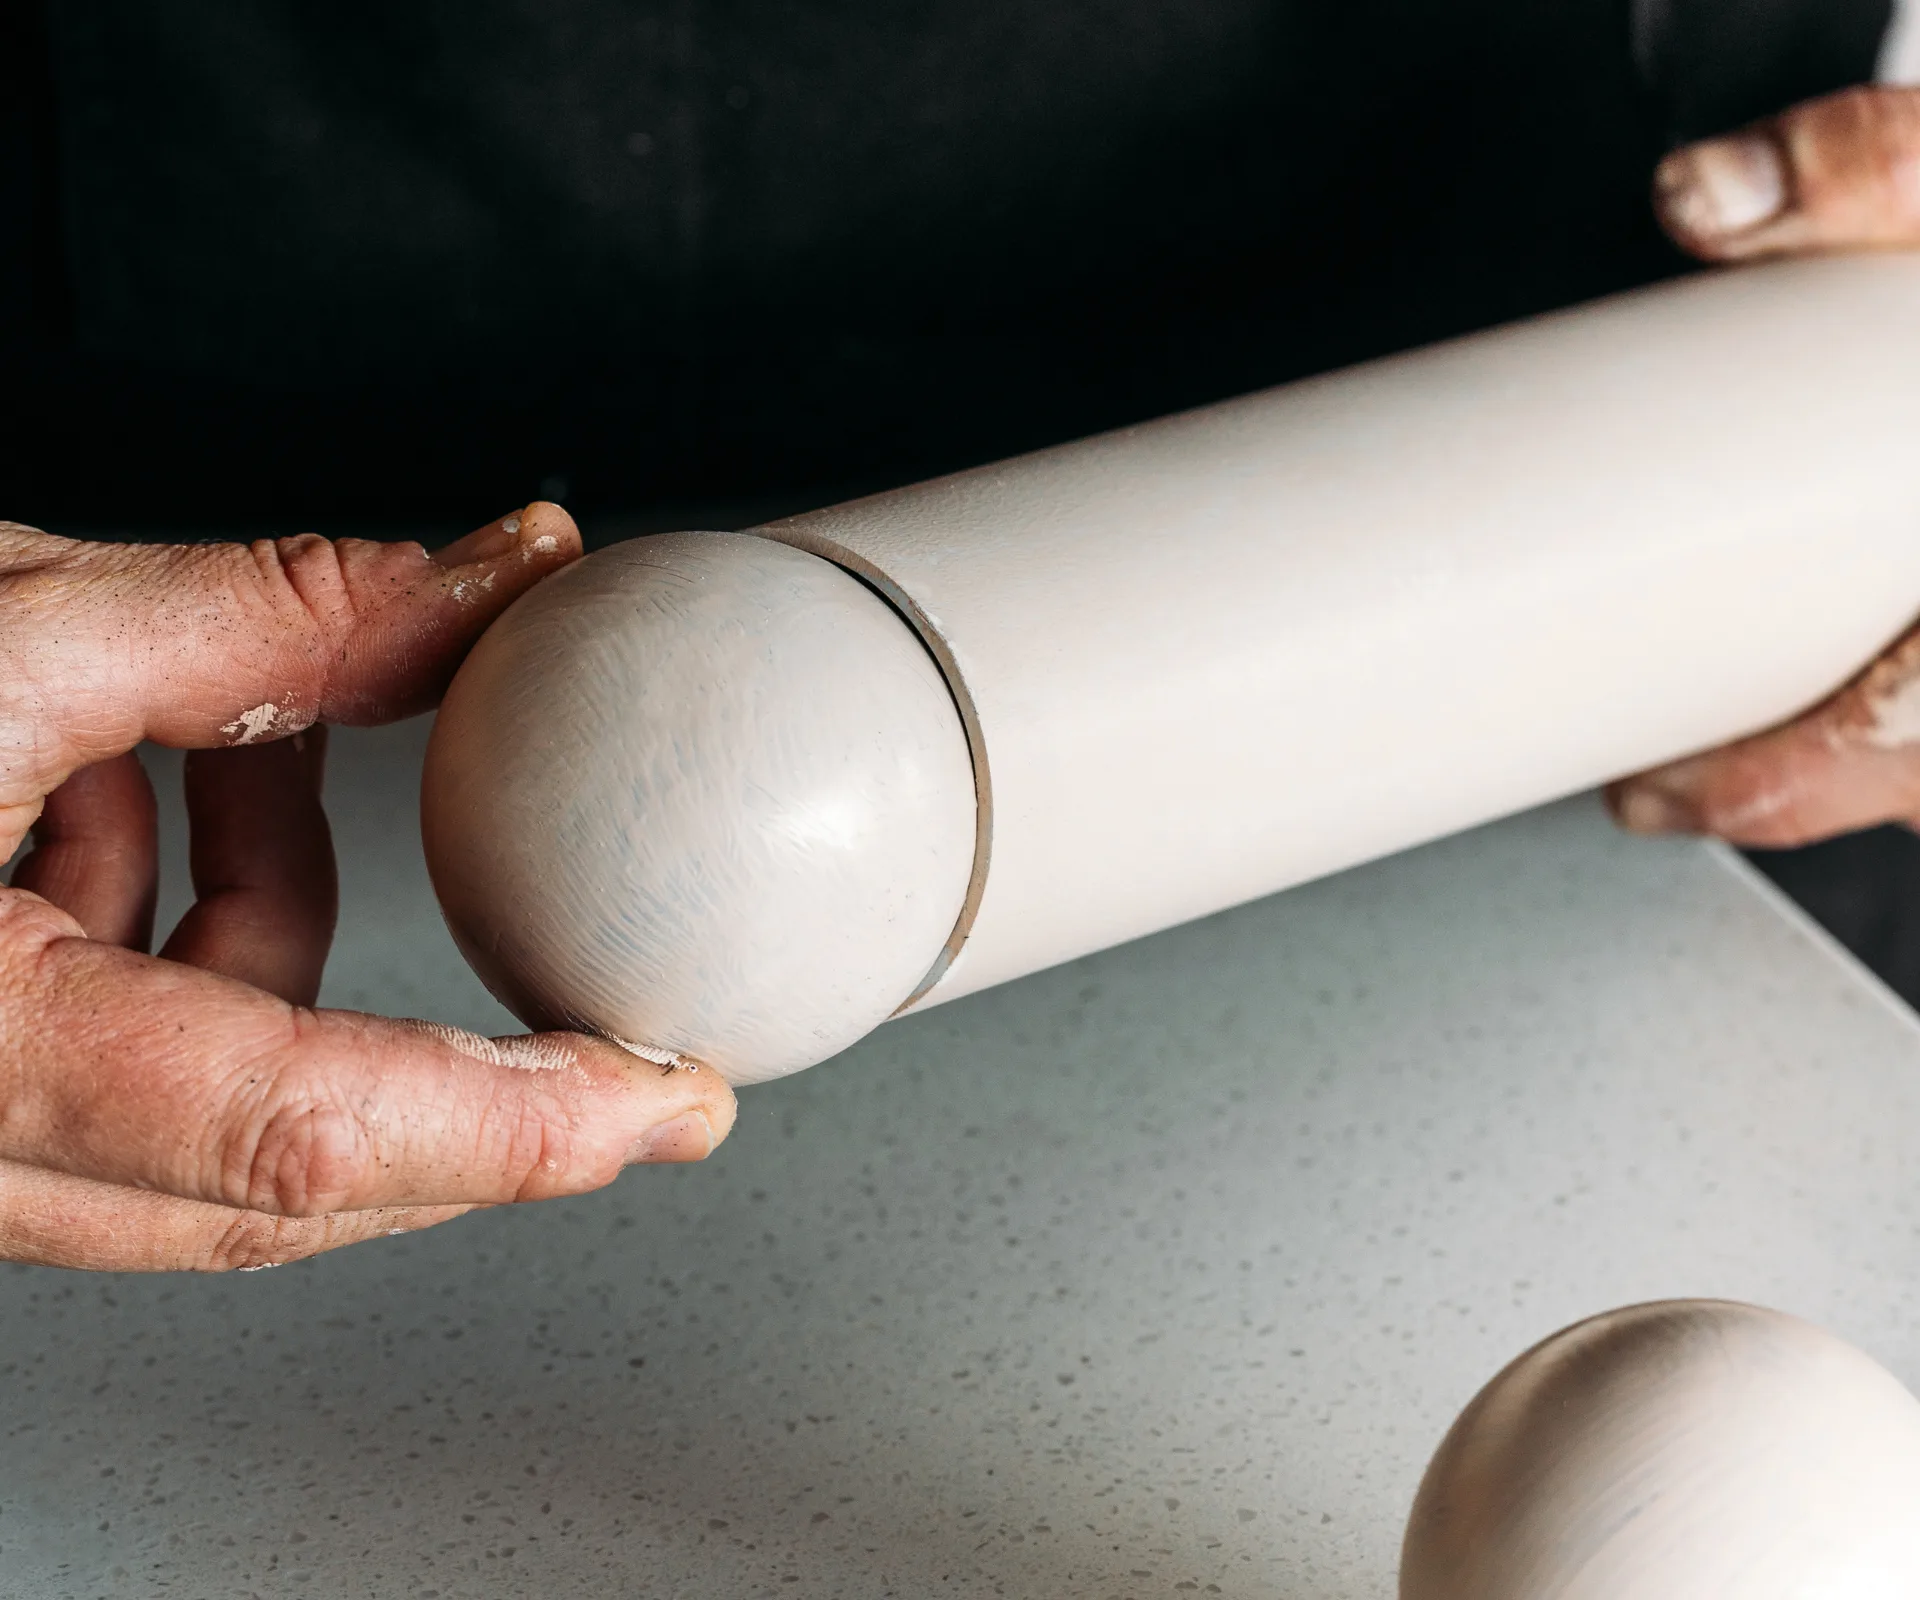
7. Glue the painted baubles to the end of the arms.
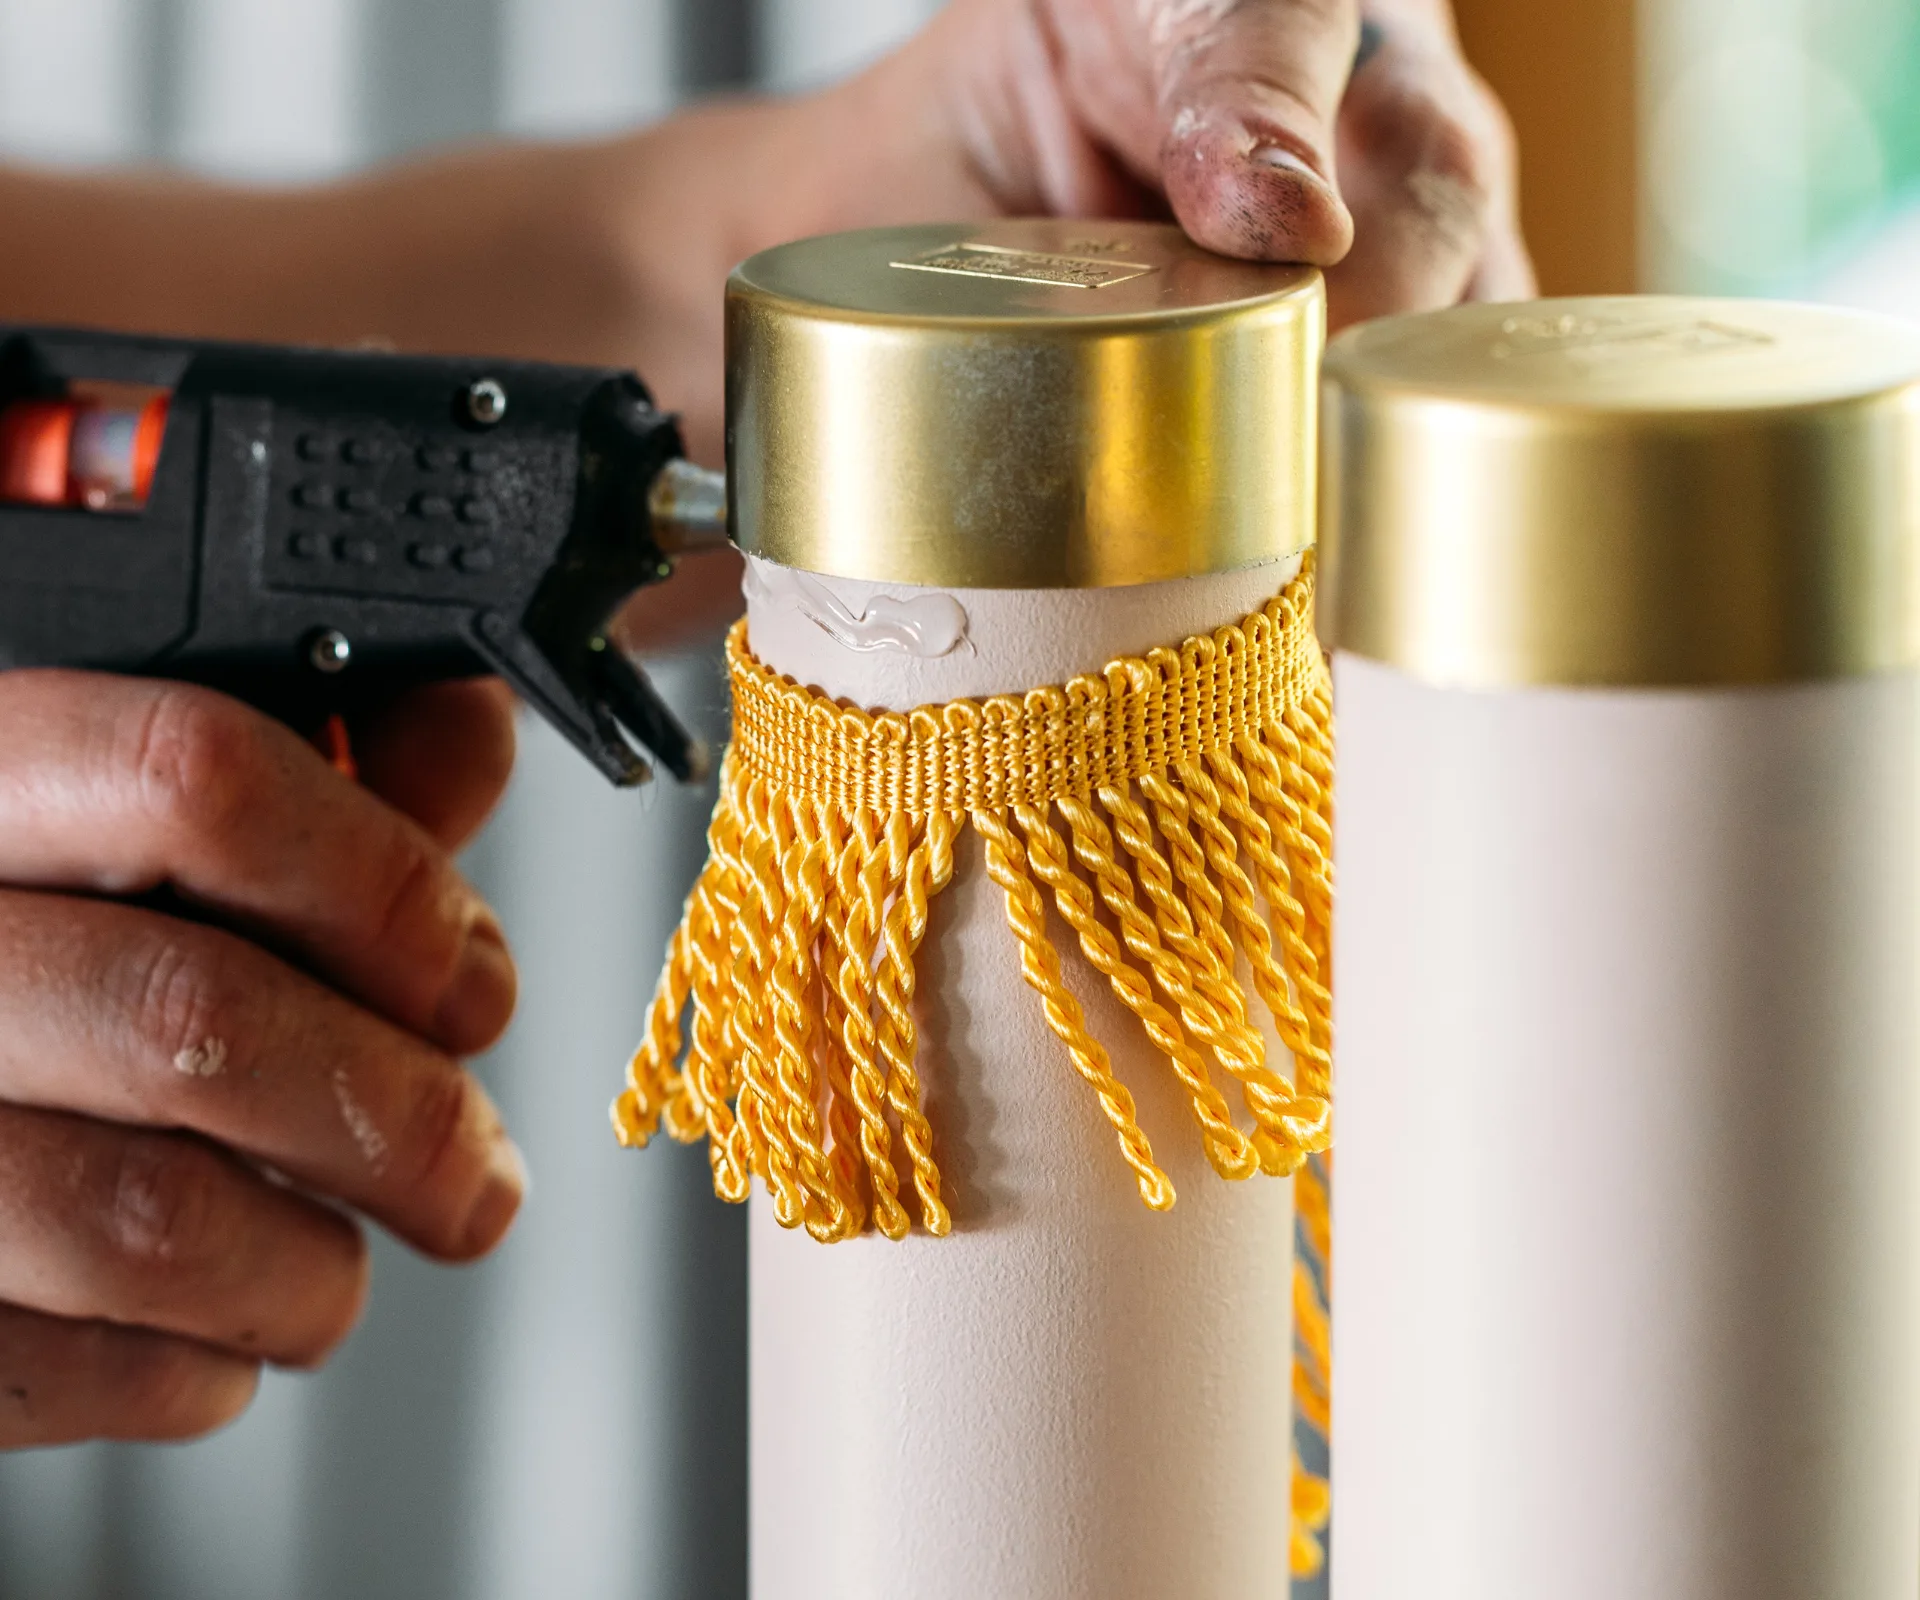
8. Add your details using the hot glue. I attached his arms added the gold-painted PVC pipe end caps for his shoulders, put buttons on his torso and used satin ribbon for his belt and around his neck. Gold fringing was used for the epaulettes and a piece of foam to form a nose.
Tip: If you don’t have sheepskin offcuts substitute with faux fur fabric from a craft store.
Related articles:
- 8 creative ways to make gifting a voucher more exciting
- Our favourite Christmas candles
- These fairy lights will add some sparkle to your Christmas decor
 Photographer: Anna Briggs
